Smart Text Recognizer
Documentation
Introduction
Smart Text Recognizer allows you to scan and extract text from images instantly.
Features
Based on ML Kit for Firebase.
Scan and extract text from images.
Scanned image history.
Edit or copy the extracted text.
Share the entire extracted text.
New Material Design with Dark Mode.
Written in Kotlin.
Compatible with Android 10 (Android Q).
Ready to publish to Google Play.
Requirements
This app uses the ML Kit for Firebase to process the images. You'll need a Firebase account to integrate Firebase inside your project. If you don't have a Firebase account you sign up for one here.
You will need Android Studio to access the project which is the official IDE for Android development. If you haven't installed it on your machine, you can download it from here.
Importing the project to Android Studio
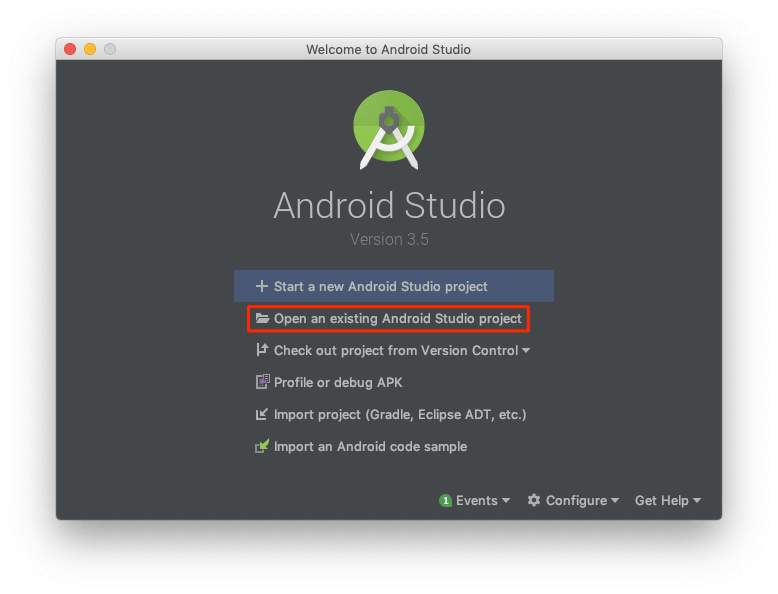
Open Android Studio and select the option Open an existing Android Studio project.
Browse and select the project SmartTextRecognizer from the opened window and press OK.
Wait for the project to get built.
When the project is built for the first time, you'll get an error stating that the google-services.json file is missing. This is normal as we haven't yet connected our project with Firebase.
Changing the package name
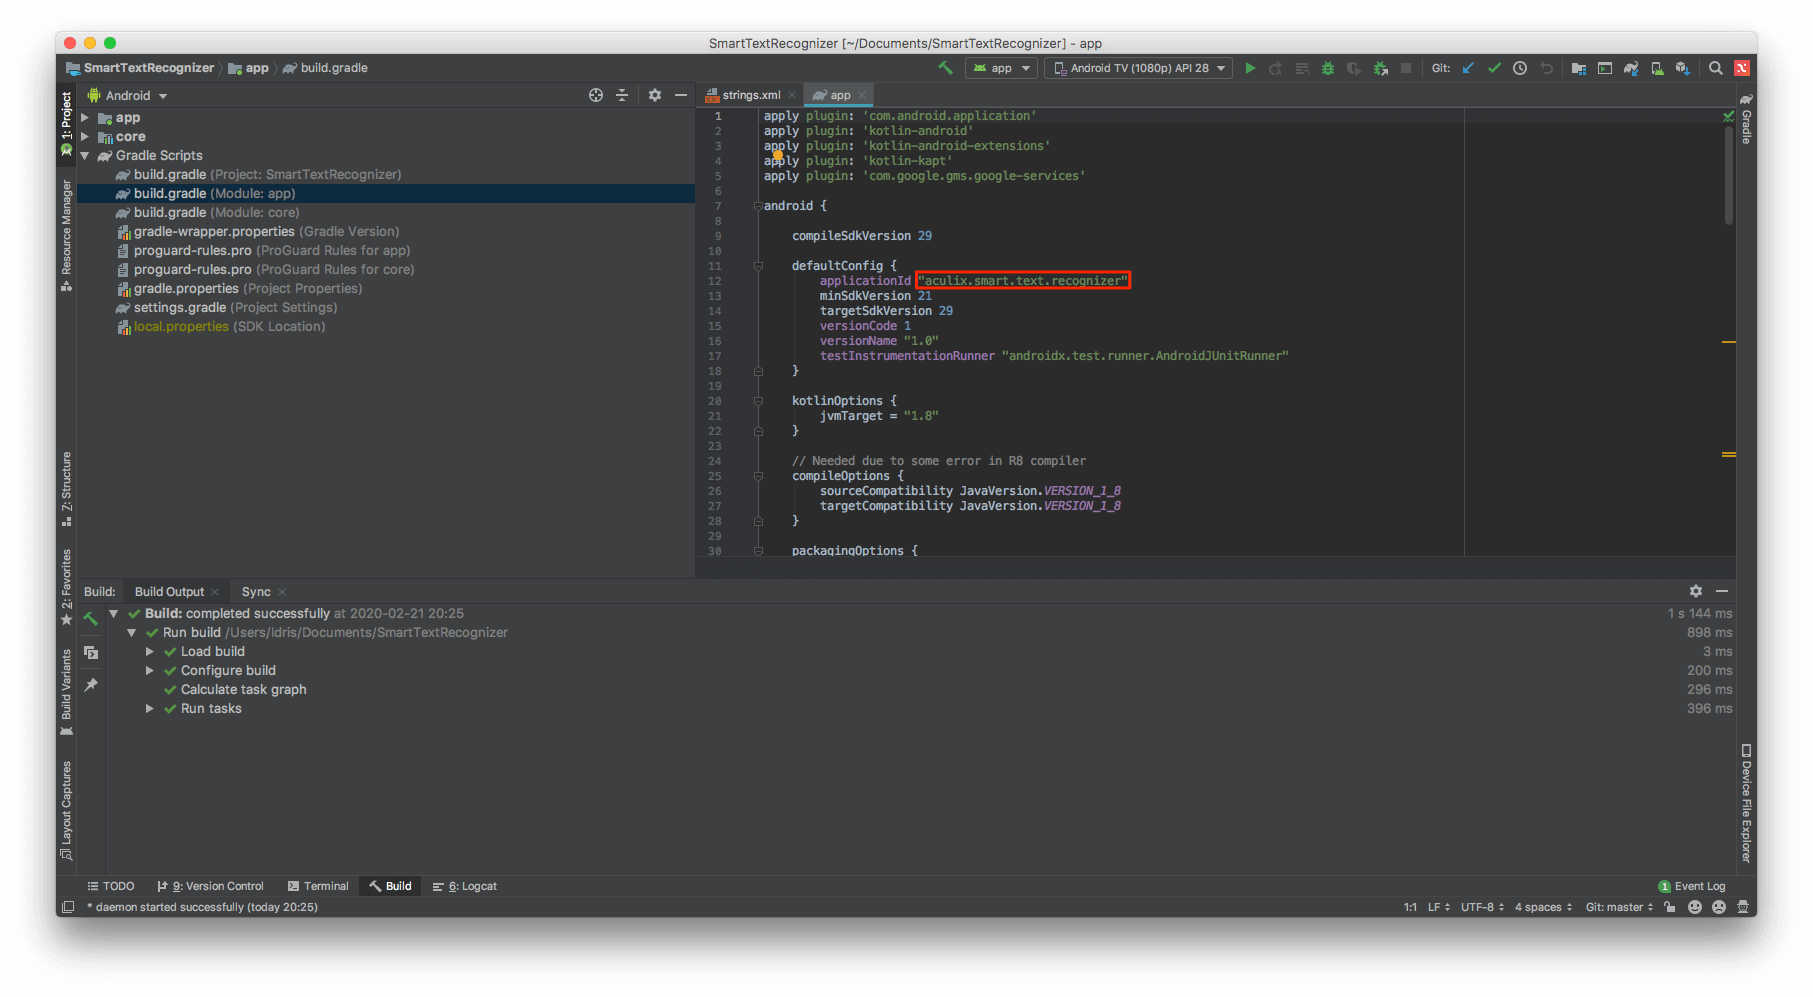
Open the build.gradle file under the directory Gradle Scripts.
Replace the value of applicationId with your application id.
Press Sync Now.
Changing the app name
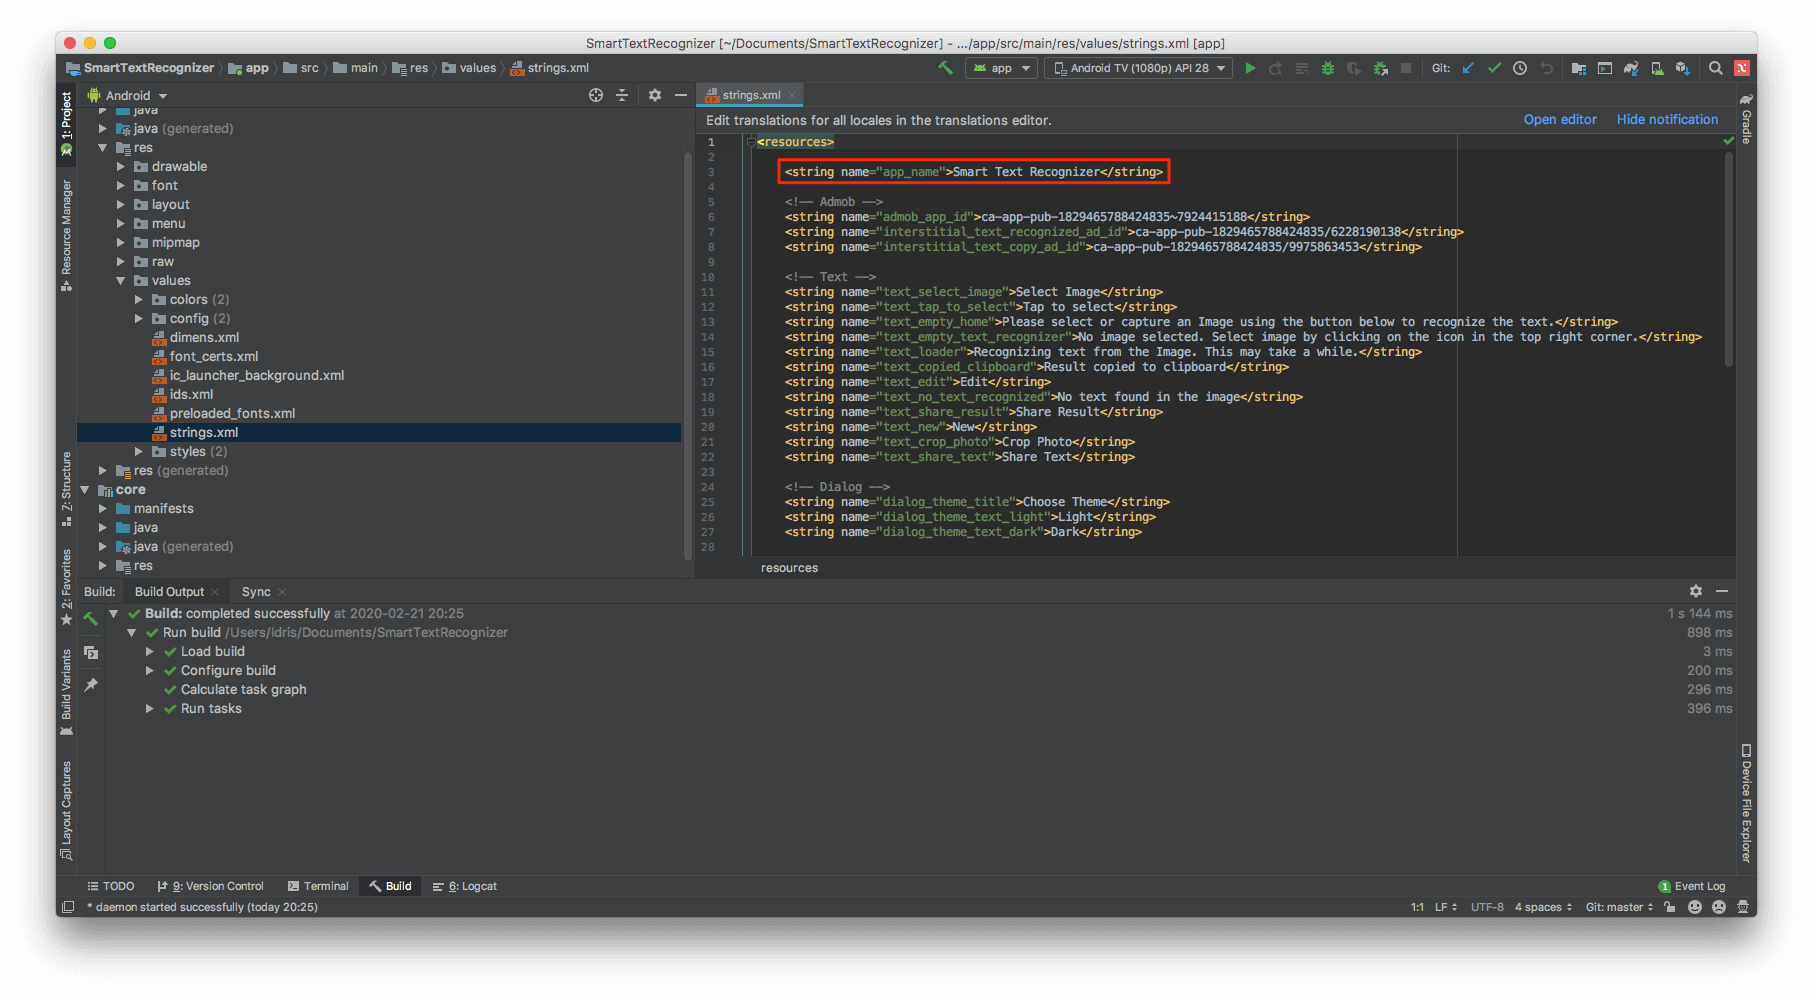
Under the app directory, goto res > values > strings.xml.
Change the value of the string app_name which would look like as shown in the screenshot below.
Connecting the app with Firebase
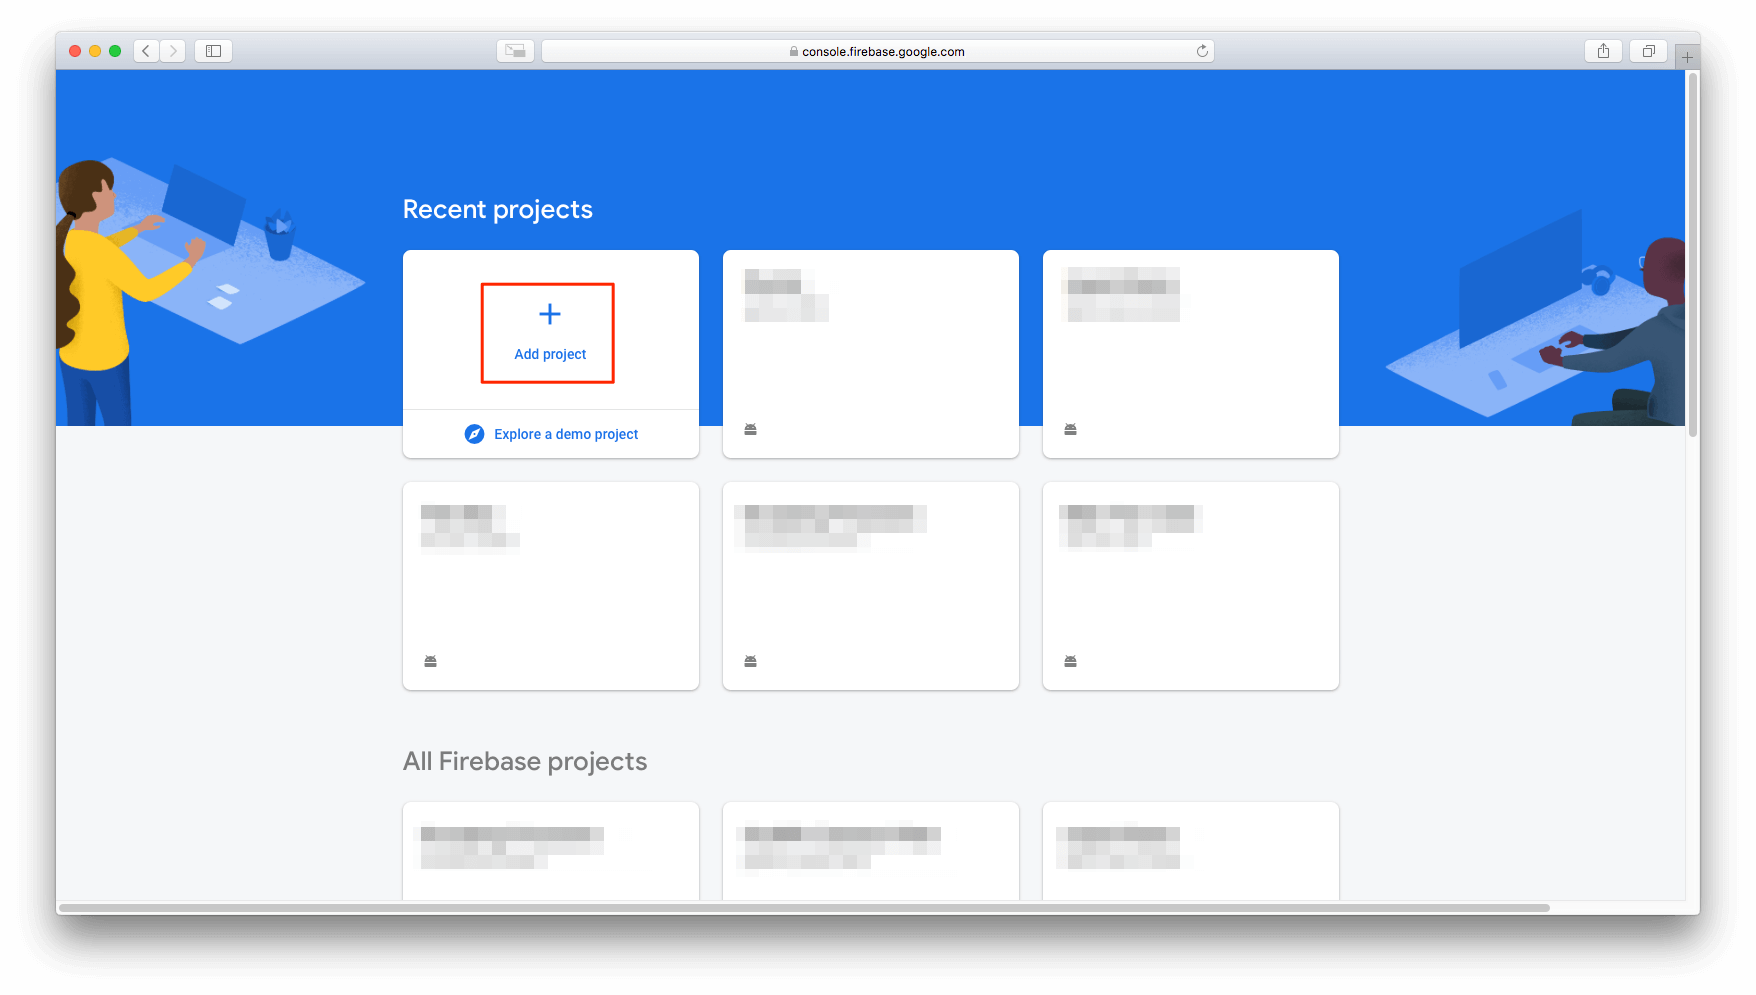
Open the Firebase Console and click on Add Project.
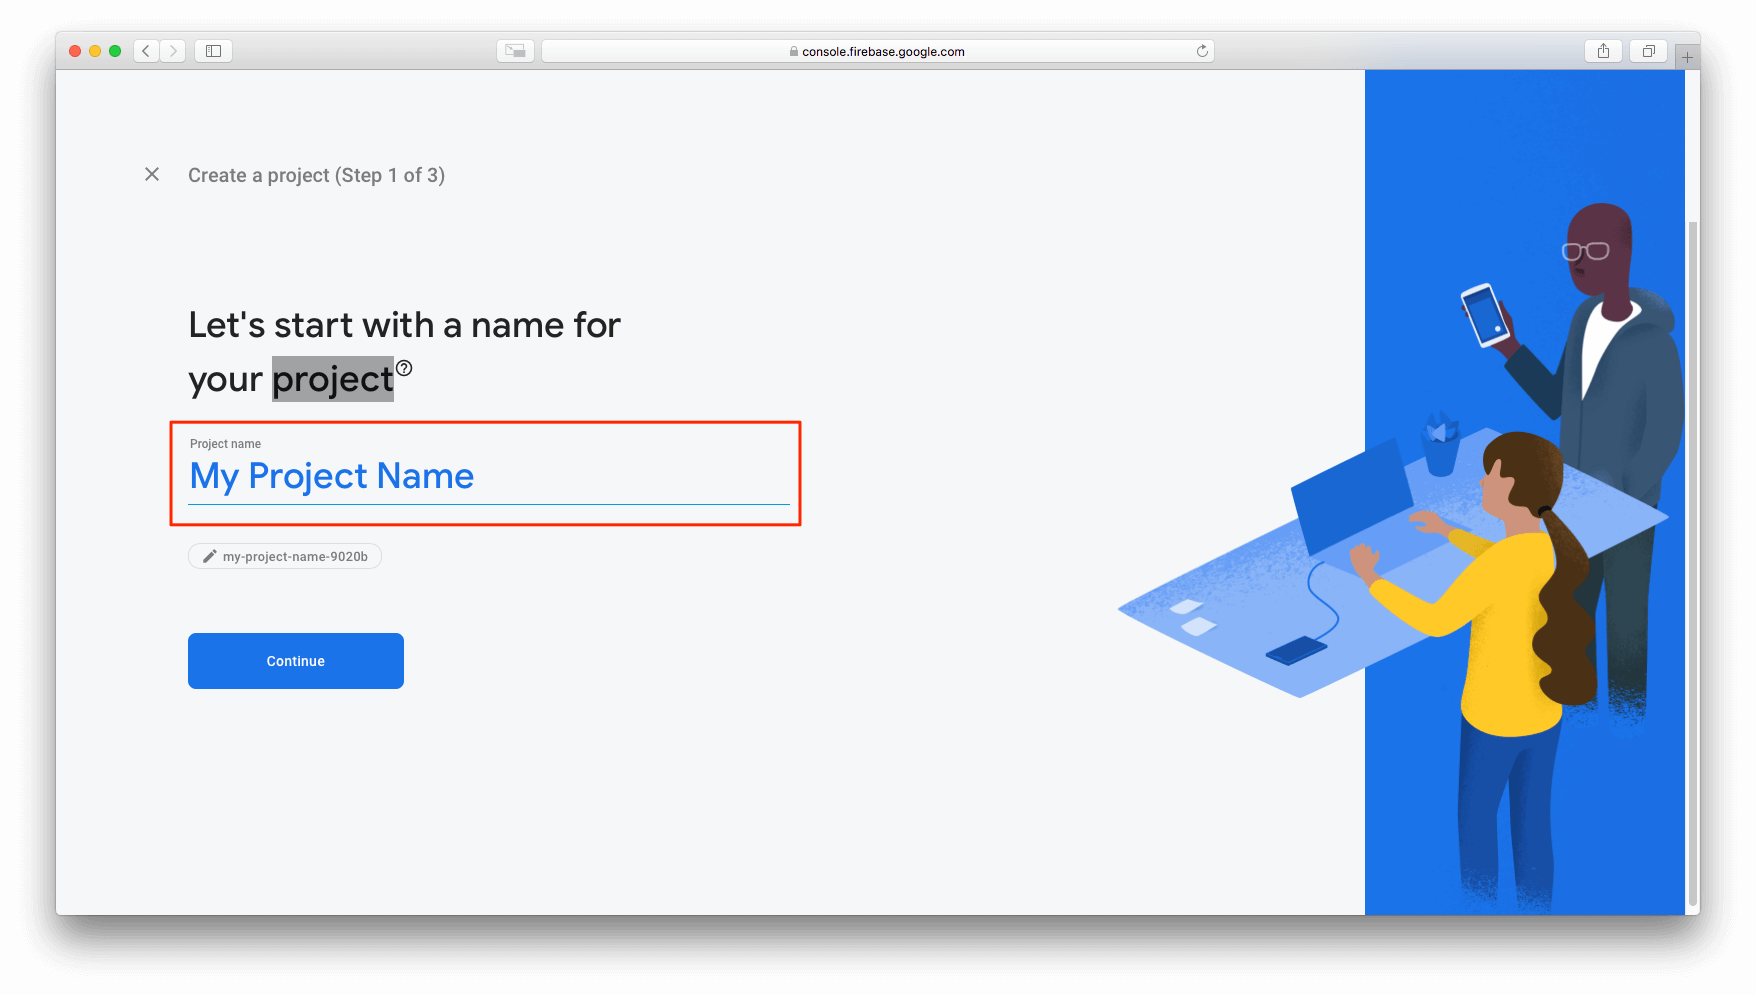
Enter your project name and click on Continue.
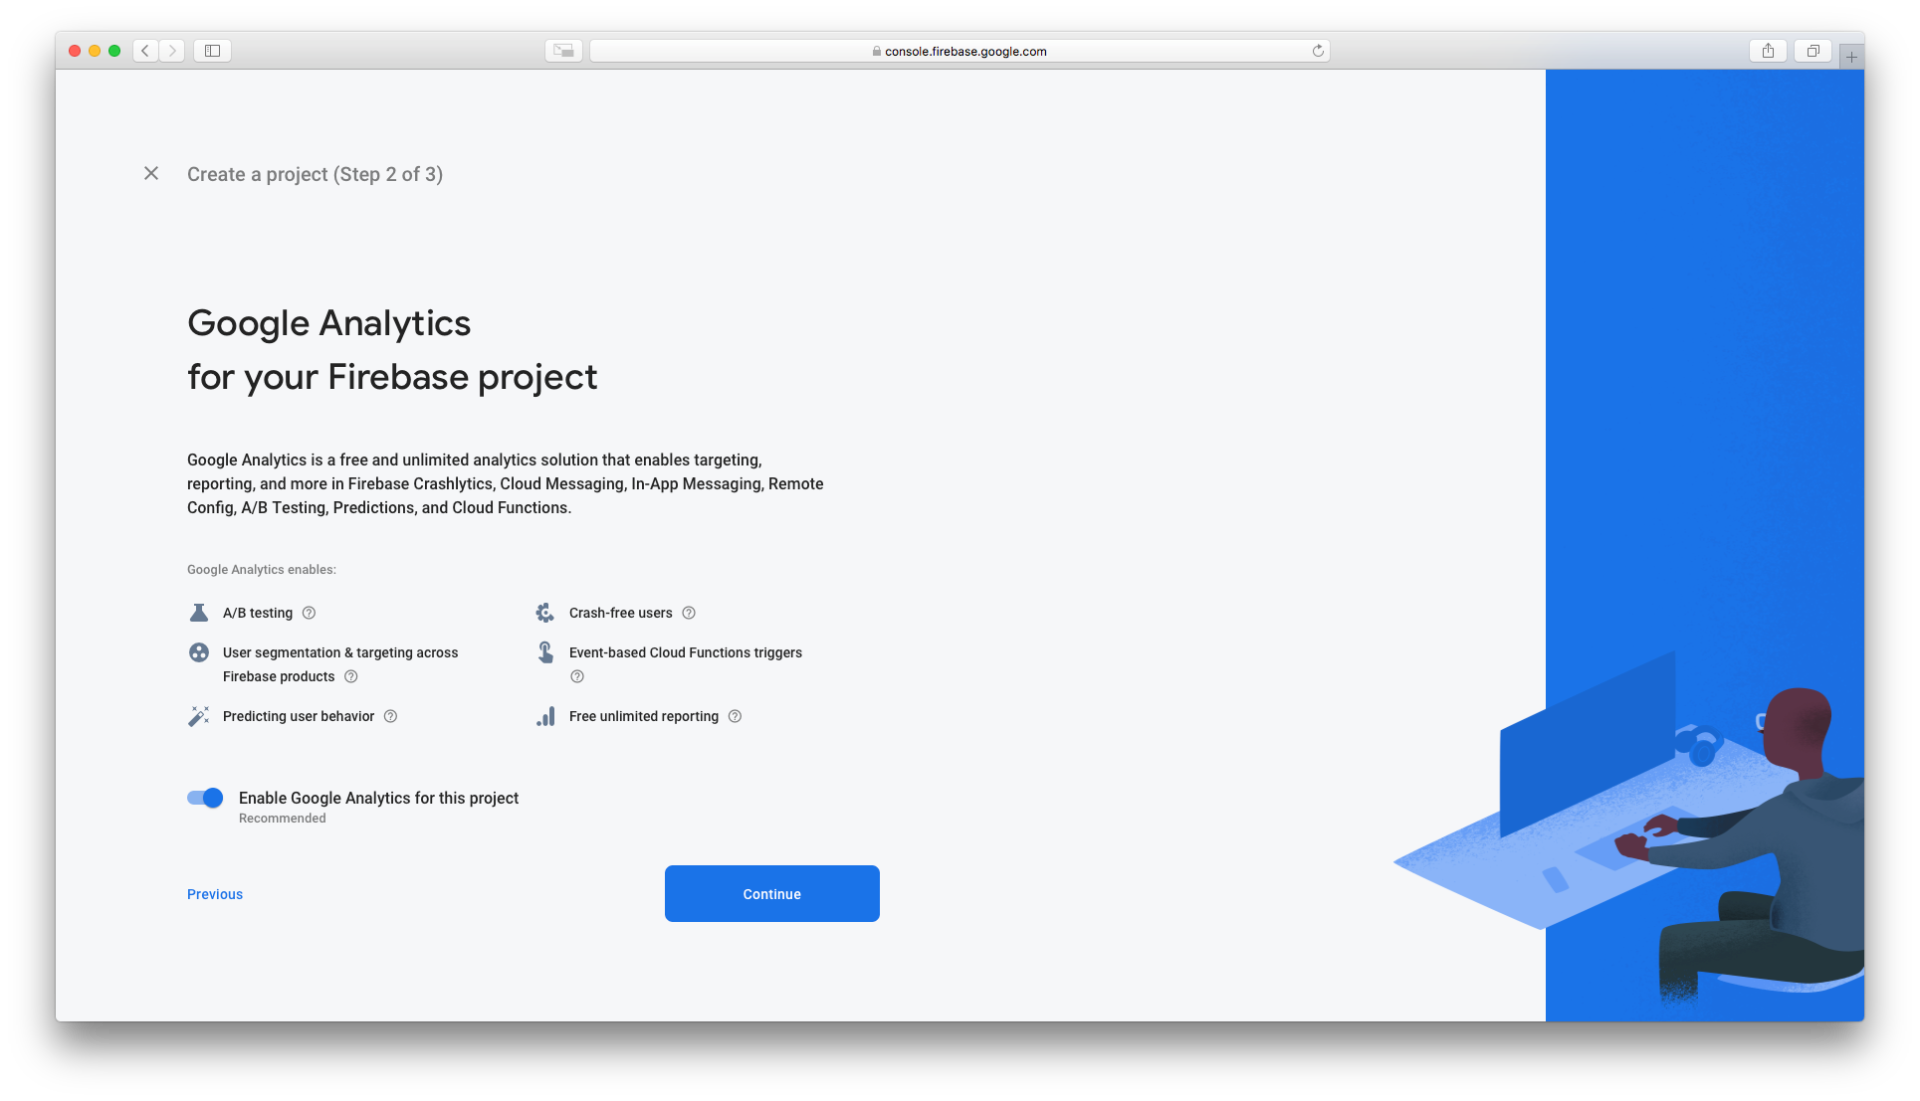
Firebase will now ask you whether you want to enable Google Analytics for your Firebase Project. Click Continue.
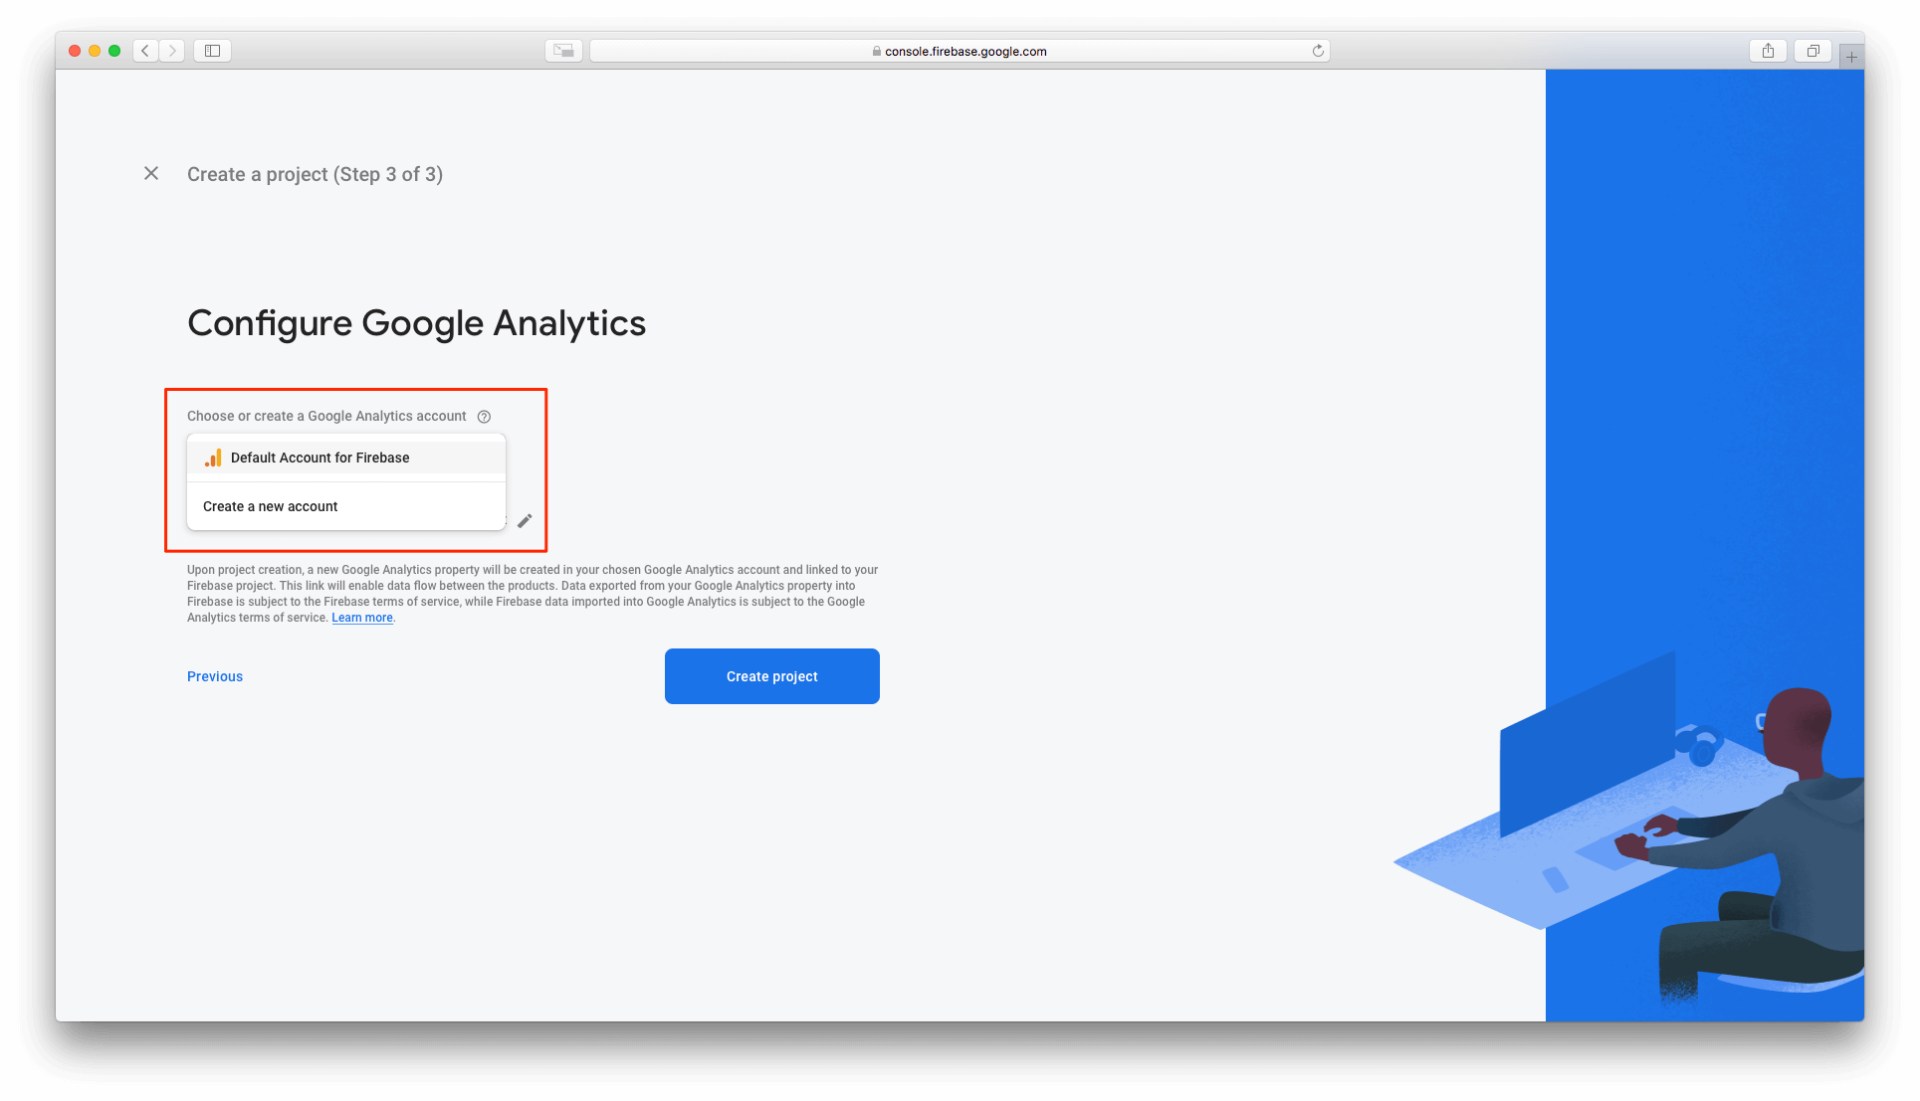
On the Configure Google Analytics screen, select Default Account for Firebase from the dropdown and click Create project.
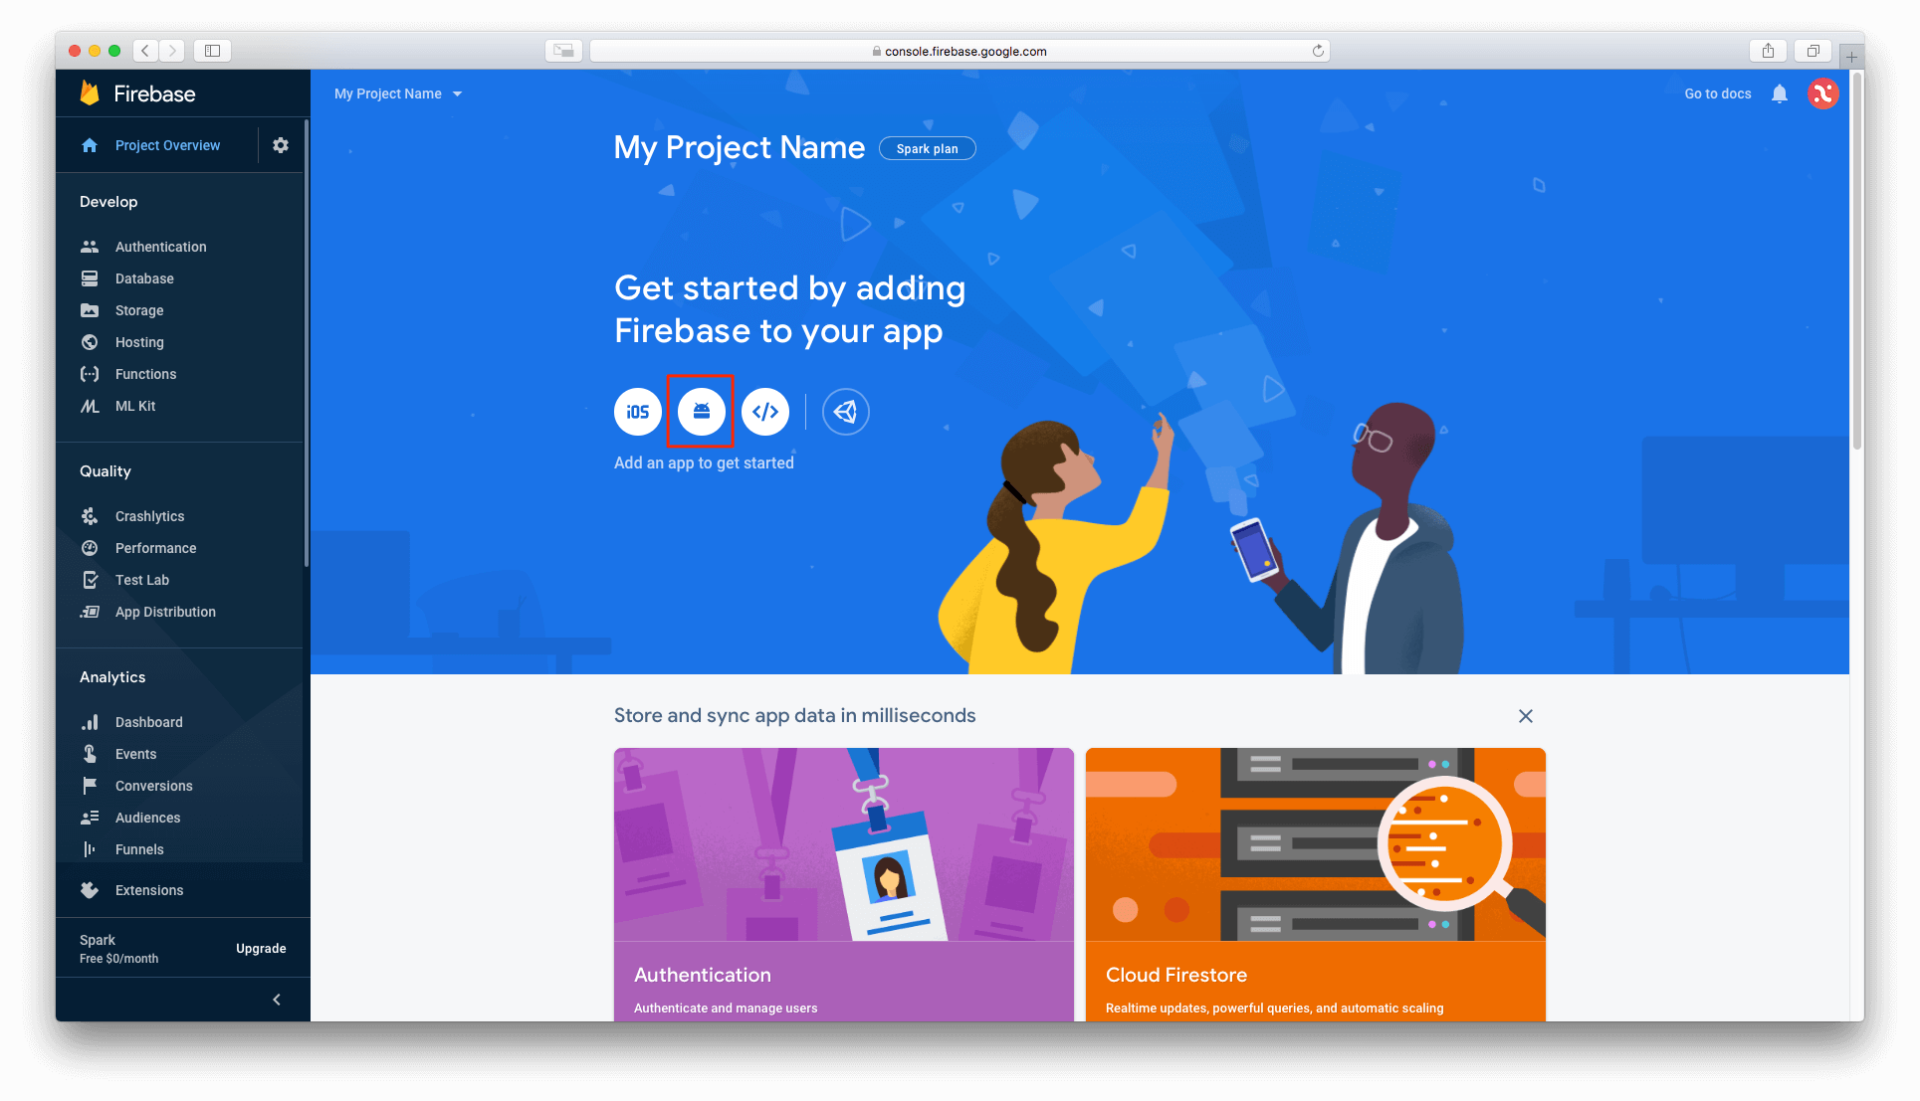
Now, click on the Android icon to proceed with adding your app to this Firebase project.
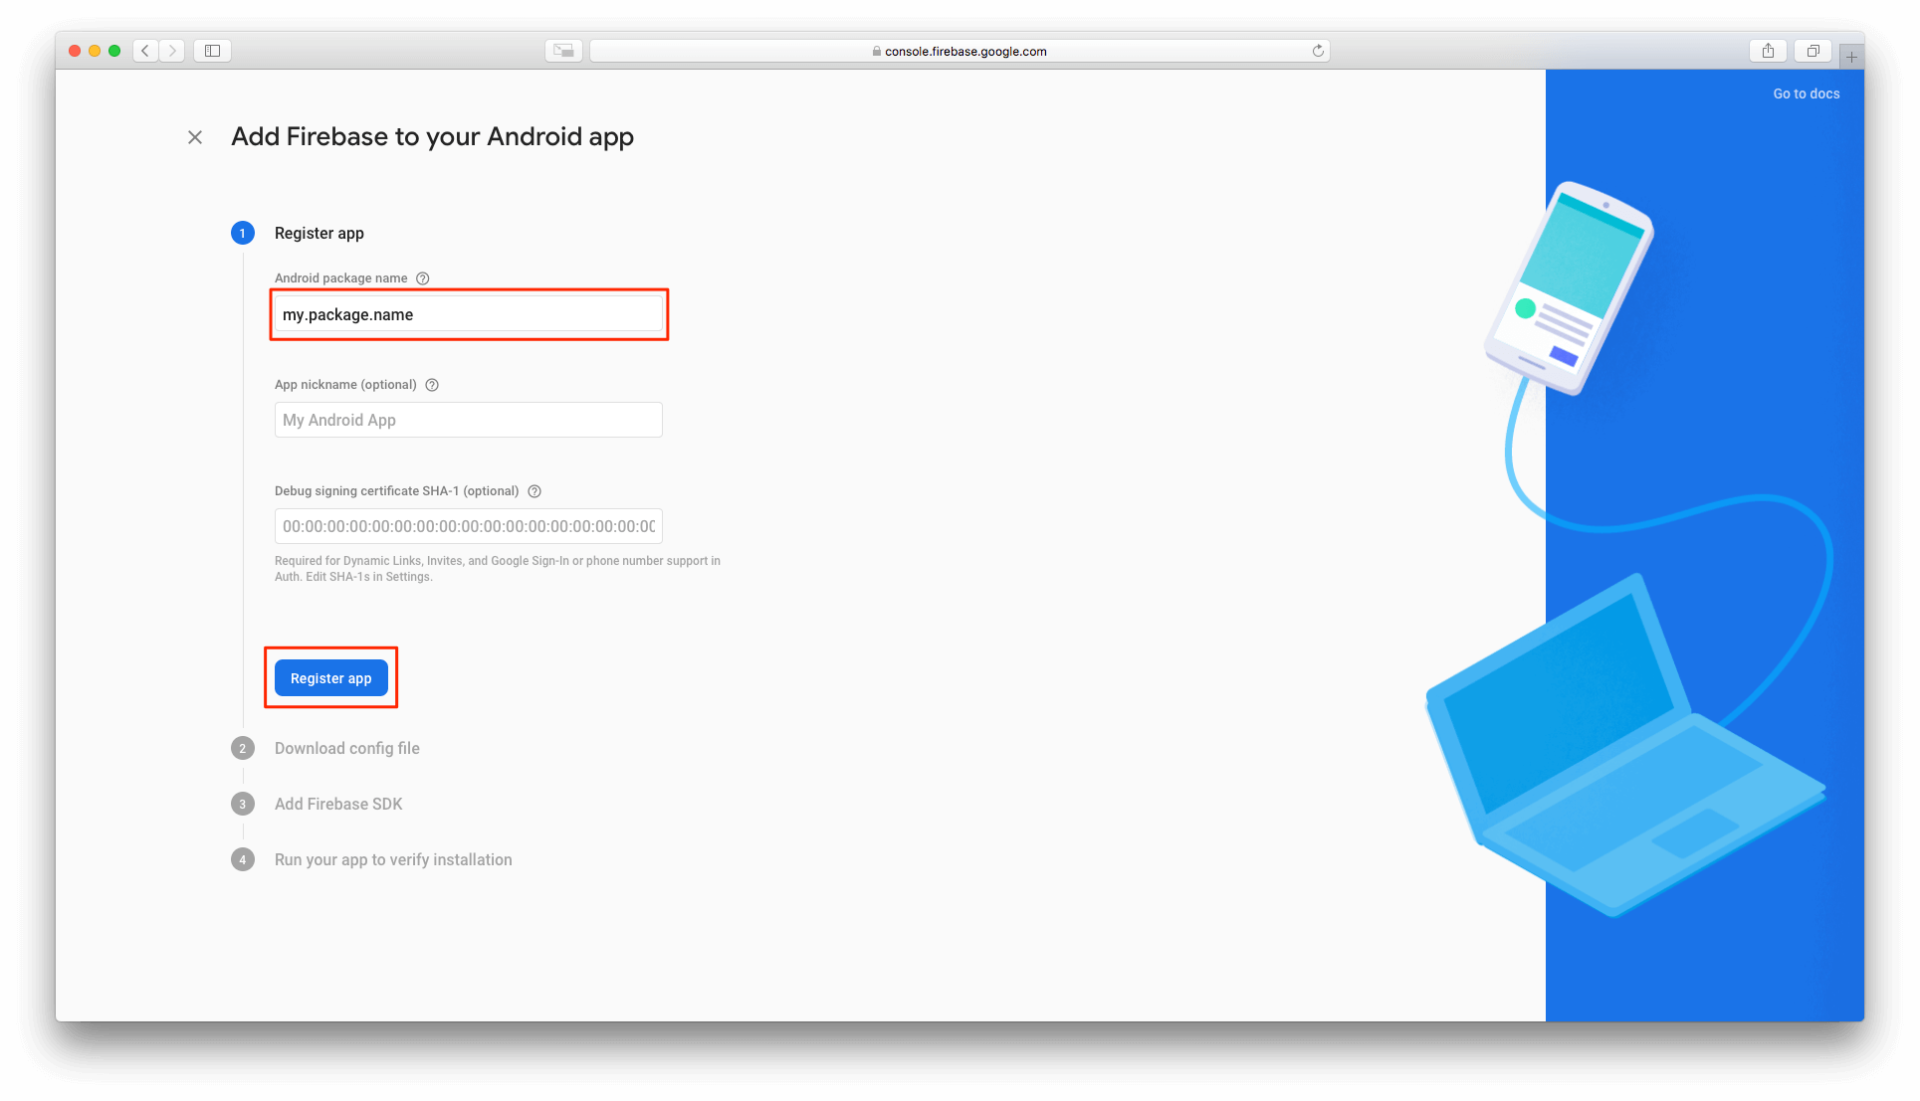
Enter the package name that you assigned to your app in the previous step and click on Register app.
Click on the Download google-services.json button and once the JSON file is downloaded, place it inside the app folder of your project directory.
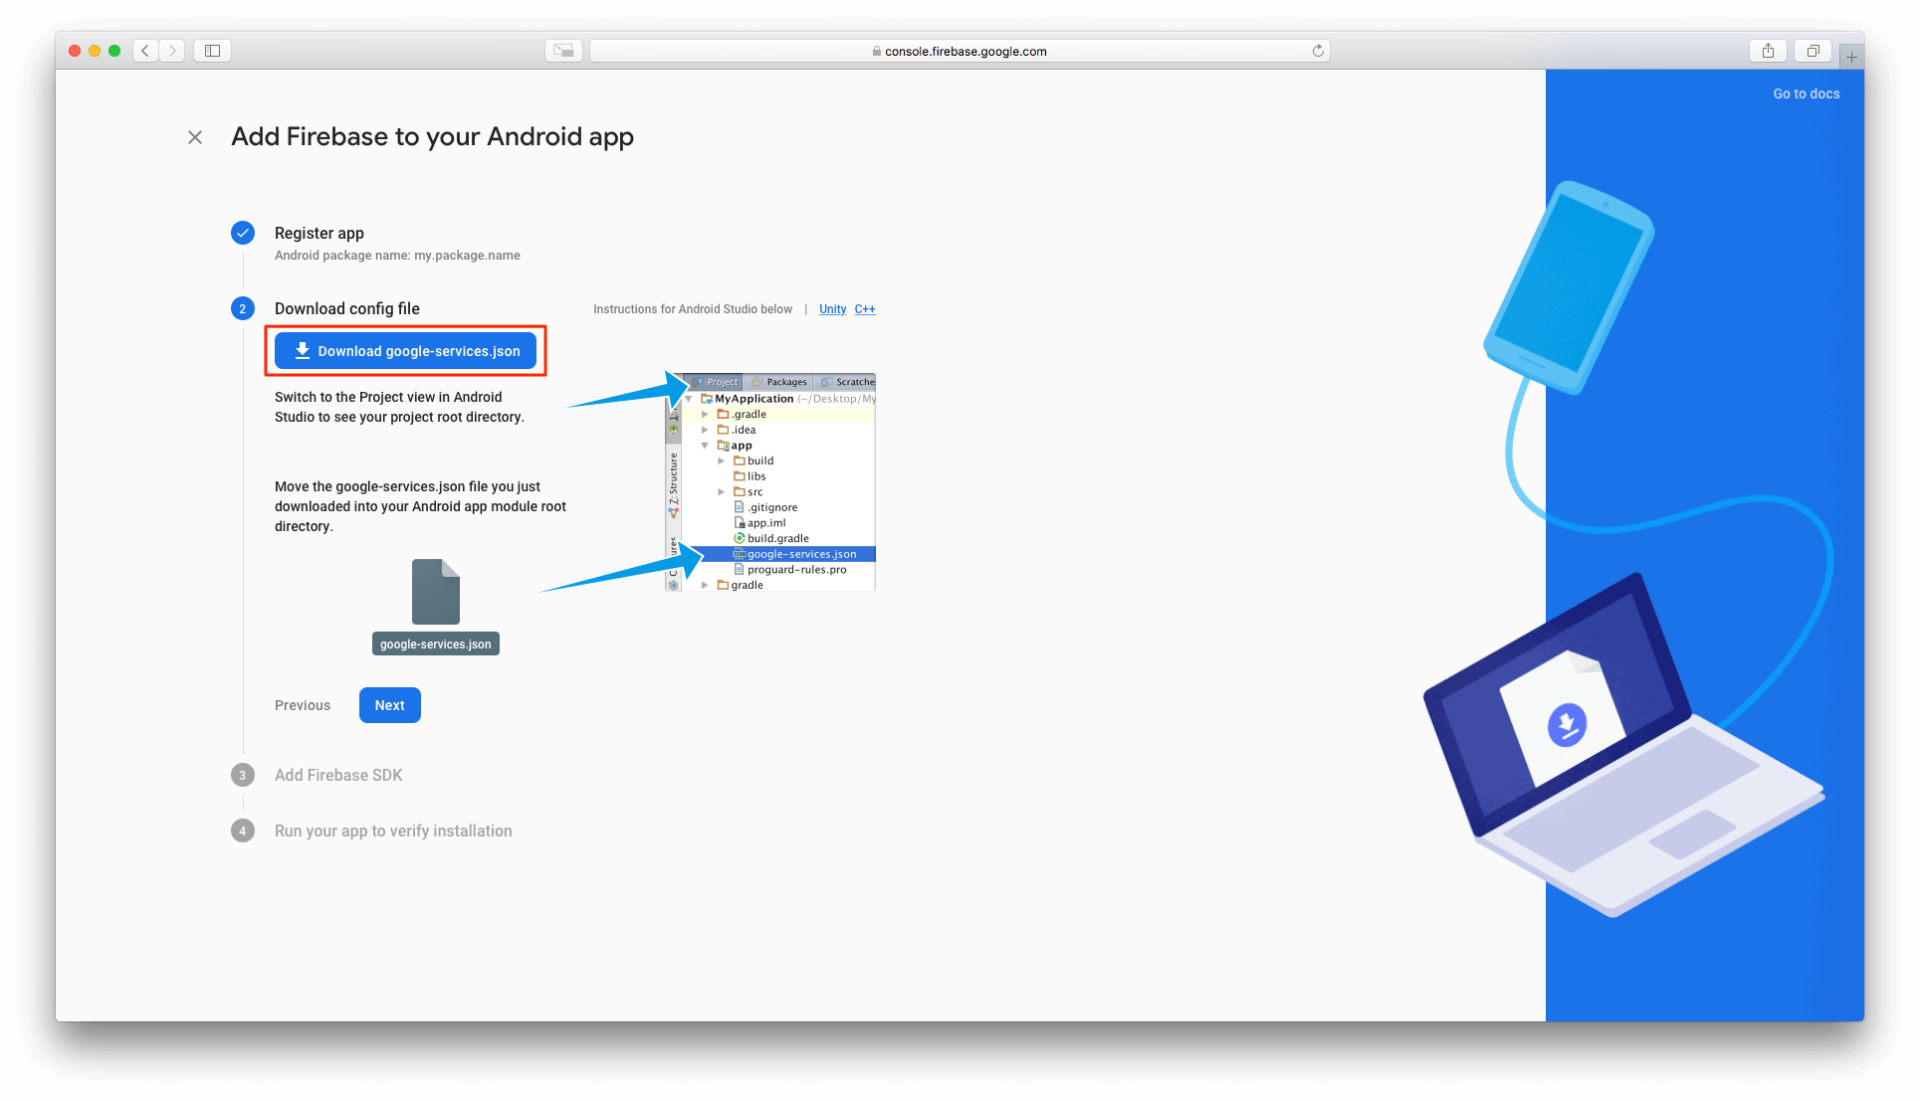
Click on Next and it will show you instructions on how to add the Firebase dependencies to your project but these steps have already been implemented in the code by us so you can skip this step and click Next.
Skip the last step as well, by clicking on skip this step. In doing so, you will be redirected to the dashboard. Refresh the page and now your app has been successfully connected to Firebase.
The final thing that you need to do is, go to the Android Studio Menu and click on Build > Rebuilt Project
Enabling ML Kit for Firebase
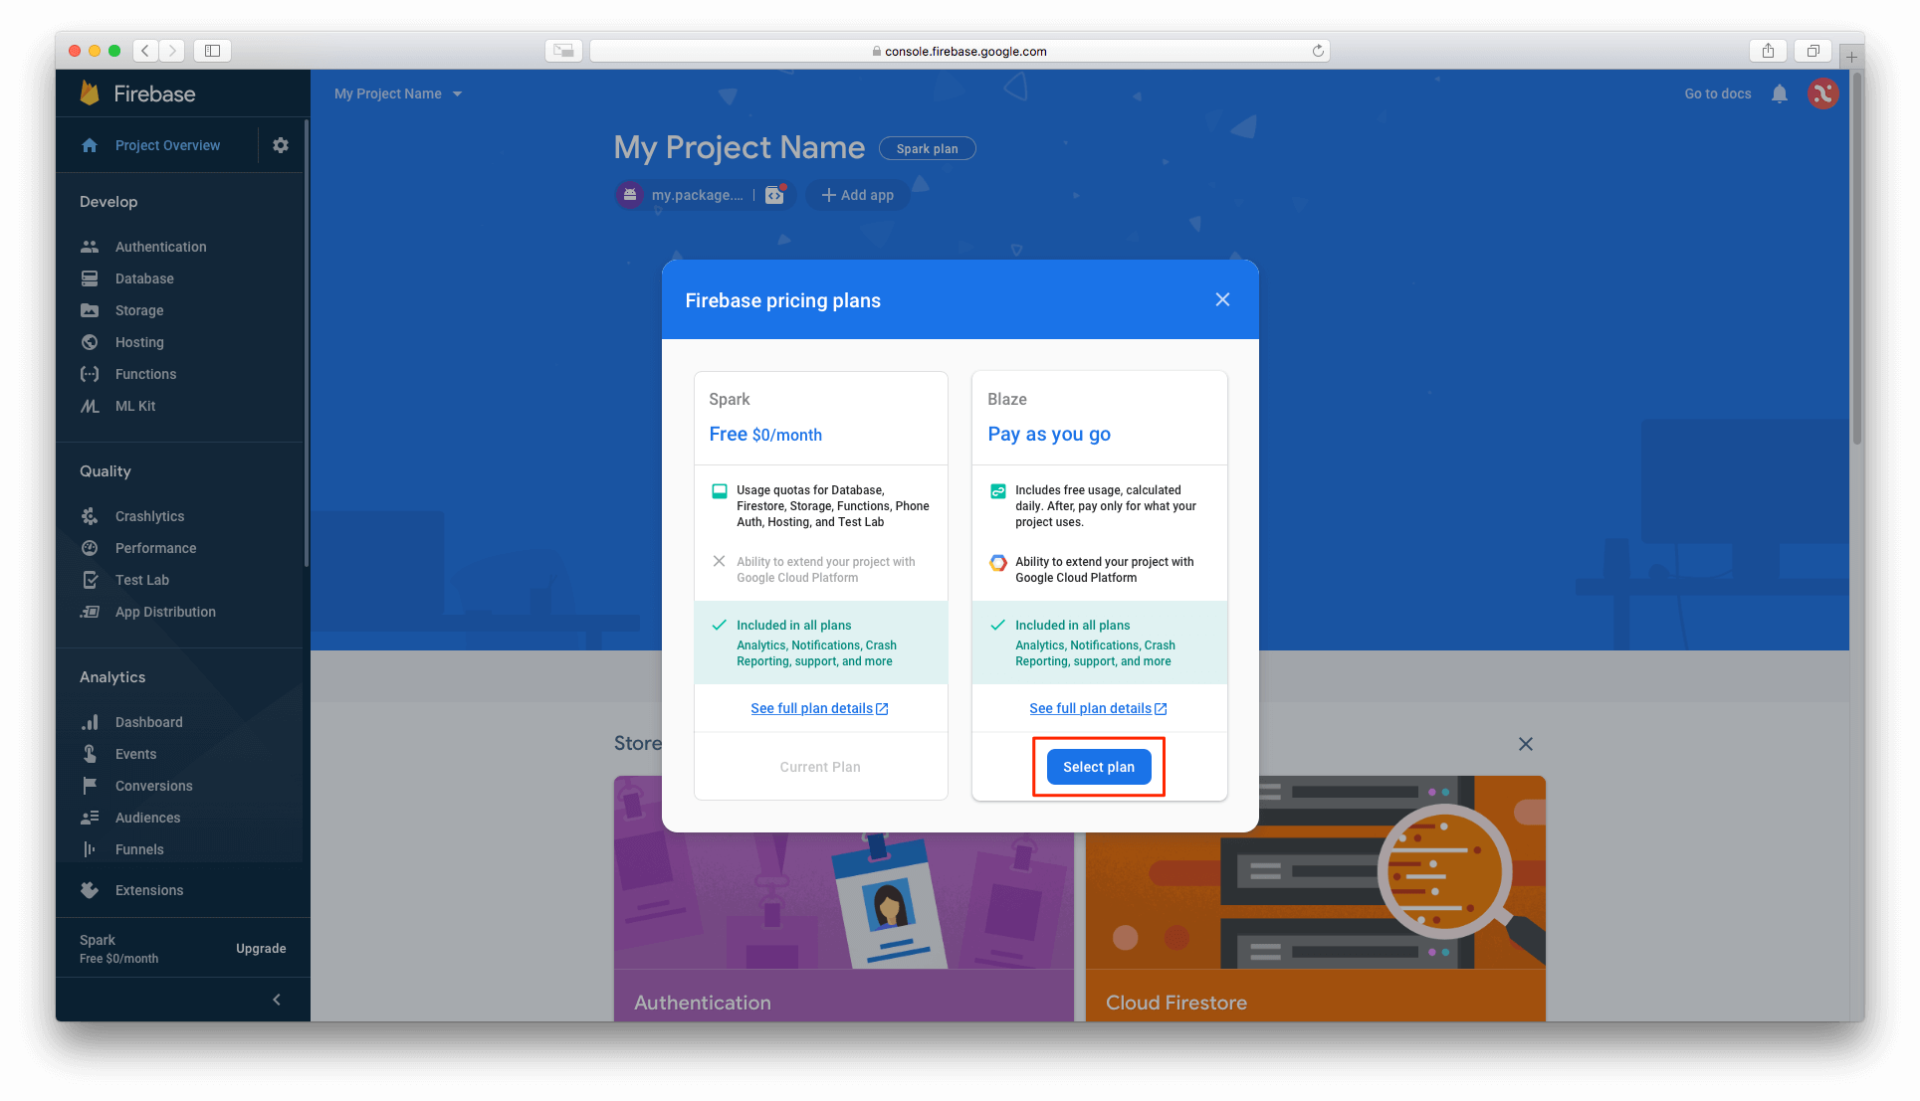
In order to use ML Kit, you need to upgrade your Firebase account to the Blaze plan. With the Blaze plan, your app can make 1000 text recognition calls for free every month which will be more than enough if you are just starting out.
After you select the Blaze Plan, you will be redirected to the Google Cloud Console where you will need to set up a billing account. It's a simple process. Once, you are done, you will be successfully redirected to your Firebase Project.
After upgrading to the Blaze plan, go to the ML Kit section and click on Enable Cloud-based APIs.

That's it. You have successfully enabled ML Kit for your Firebase Project.
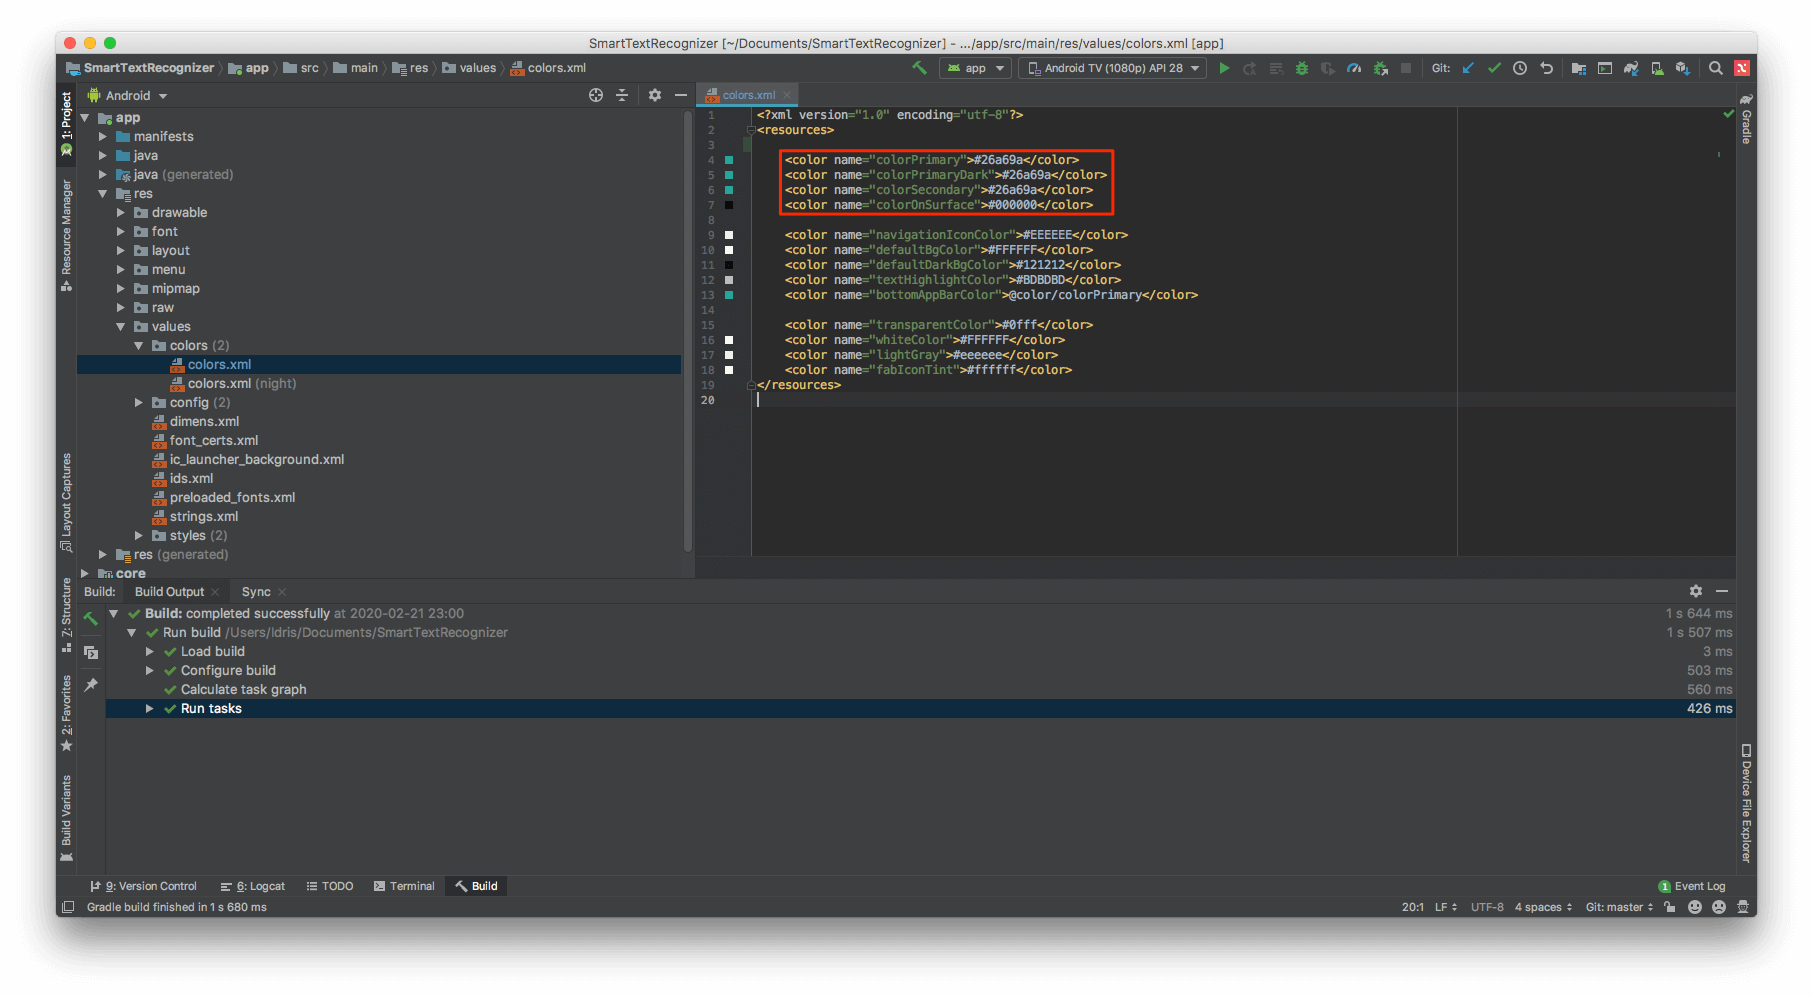
Changing the colors of the app
Under the app directory, goto res > values > colors.xml.
Replace the value of colorPrimary, colorPrimaryDark, colorSecondary & colorSecondaryVariant with your preferred colors.
If you wish to change the color for Dark Mode, simply change the above values in the file called colors.xml (night).
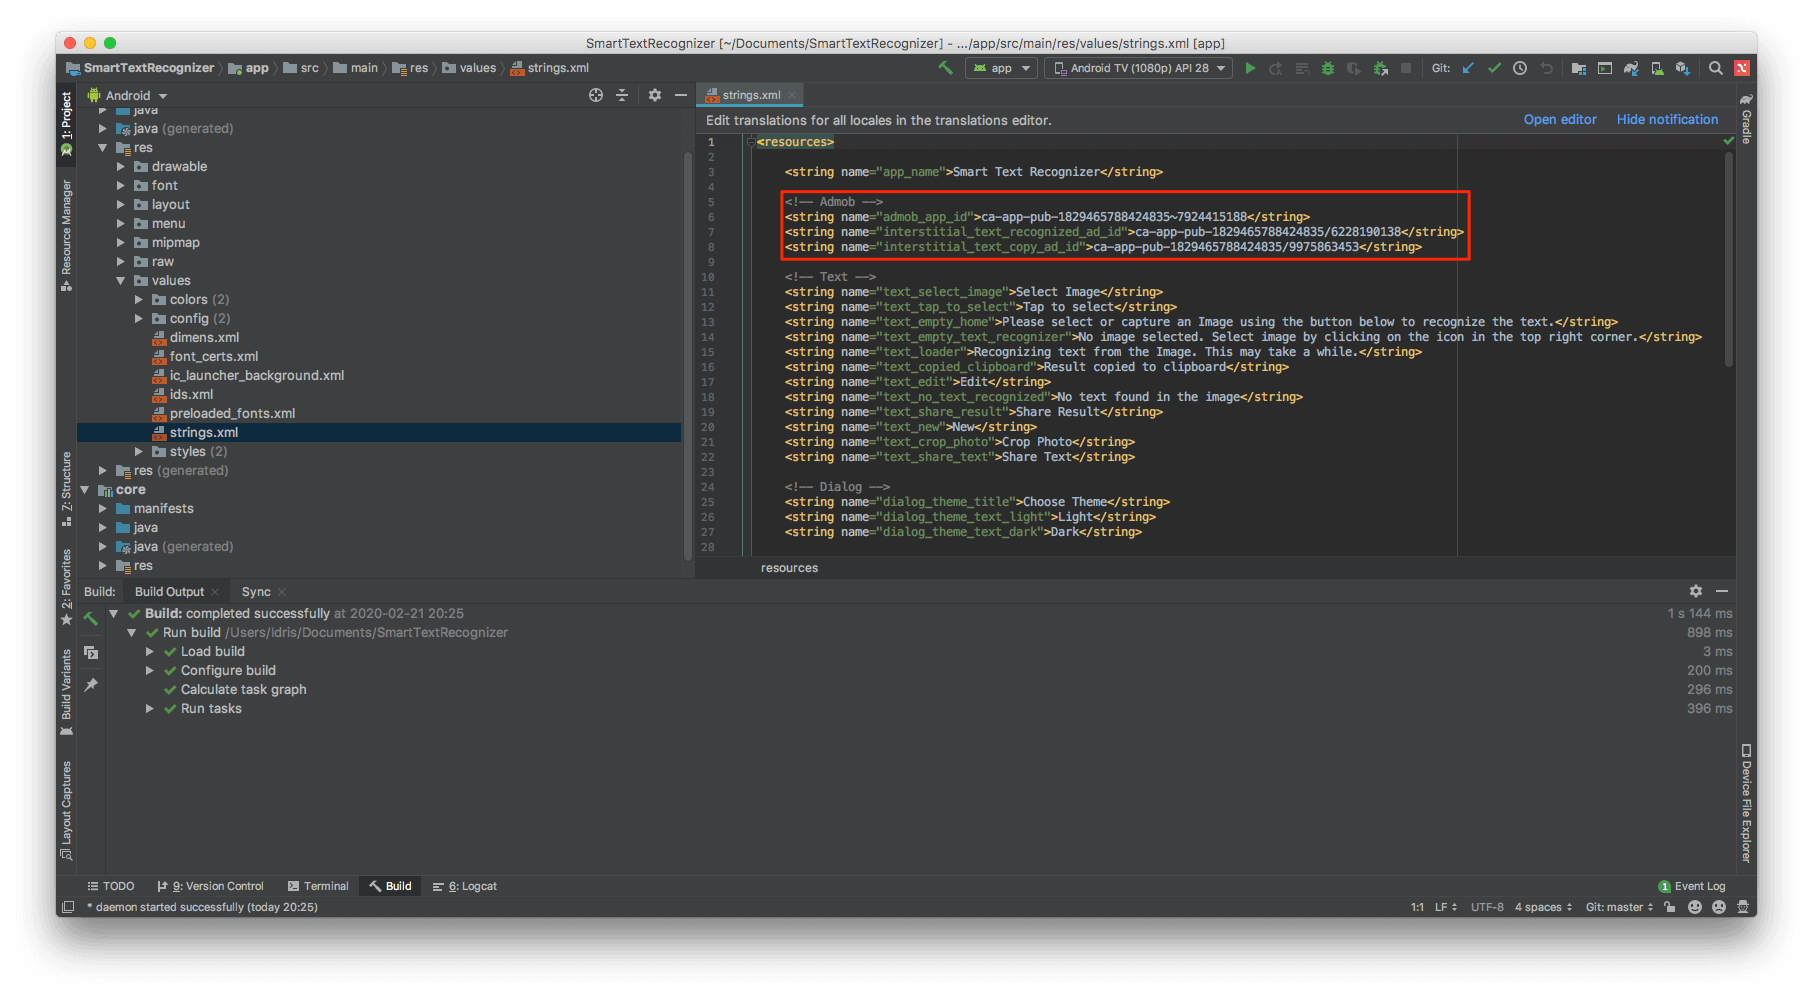
Changing the AdMob ad IDs
Under the app directory, goto res > values > strings.xml.
Enter your AdMob App Id inside the admob_app_id string tag.
Enter your banner ad id inside the interstitial_text_recognized_ad_id string tag.
Enter your interstitial ad id inside the interstitial_text_copy_ad_id string tag.
Feedback
If you like our work and are overall satisfied with Smart Text Recognizer app template, please give us a 5-star rating. You can give your rating by clicking the button below.
© 2020 Aculix Technologies LLP. All Rights Reserved.
